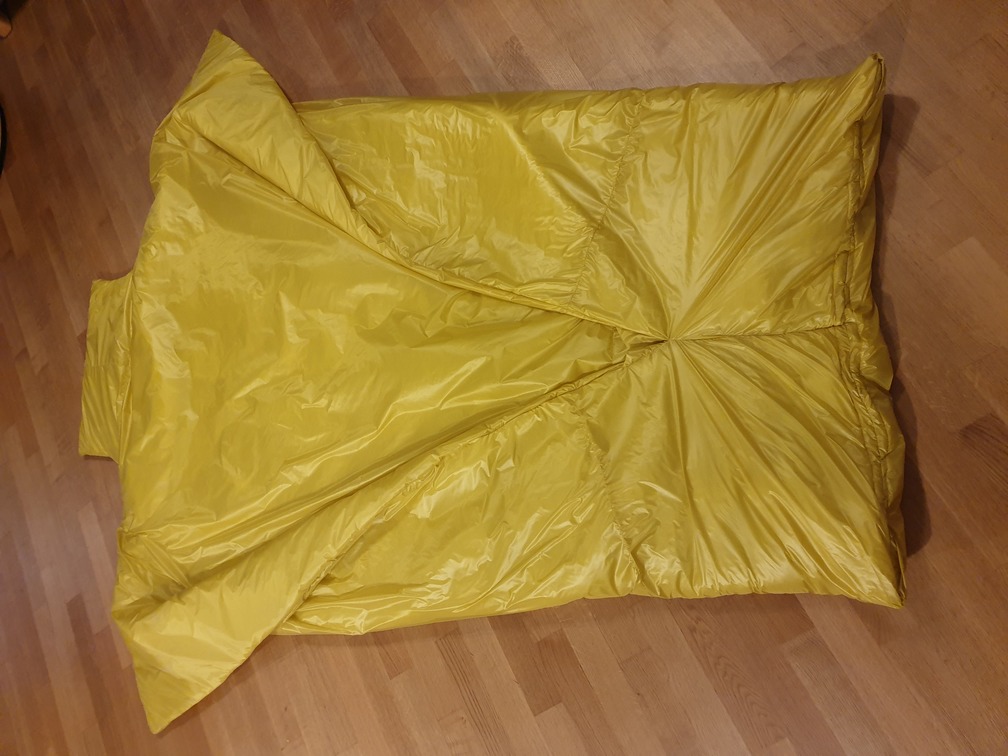
2-person outdoor equipment is still a niche product, and a synthetic version of our beloved down Enlightened Equipment Accomplice is not yet available on the market, so we made one (actually, two) ourselves. It ended up being a great success in every respect:
- Weight: 1200g (warm version) and 712g (UL version)
- Cost: ~100€
- Difficulty: intermediate
- Time: 8-10 hours with 2 people
Introduction
A few years ago, we bought an ultralight 2-person down quilt (Enlightened Equipment Accomplice) with a temperature rating of -12℃, weighing around 1100g. We are extremely happy with this type of quilt: there is enough blanket for both of us while the quilt weighs little more than a standard 1-person sleeping bag.
However, for many of our trips, the quilt is a little too warm and and it has the usual drawbacks of down equipment. That’s why we have been looking for an equally light but less warm synthetic 2-person version to complement it. Unfortunately, Enlightened Equipment doesn’t manufacture 2-person synthetic quilts (yet?) as the standard insulation material “Climashield Apex” is only available at a width of ~150cm, which is too narrow for a 2-person quilt.
We therefore decided to make it ourselves, modelling it after the Enlightened Equipment Accomplice. One of the main challenges was finding a good way of connecting multiple pieces of the Apex material to achieve the necessary width. While we were on that, we decided to use different insulation ratings on the two sides as we have slightly different comfort temperatures.
We ended up making two quilts with slightly different materials and geometries.

Planning and Construction
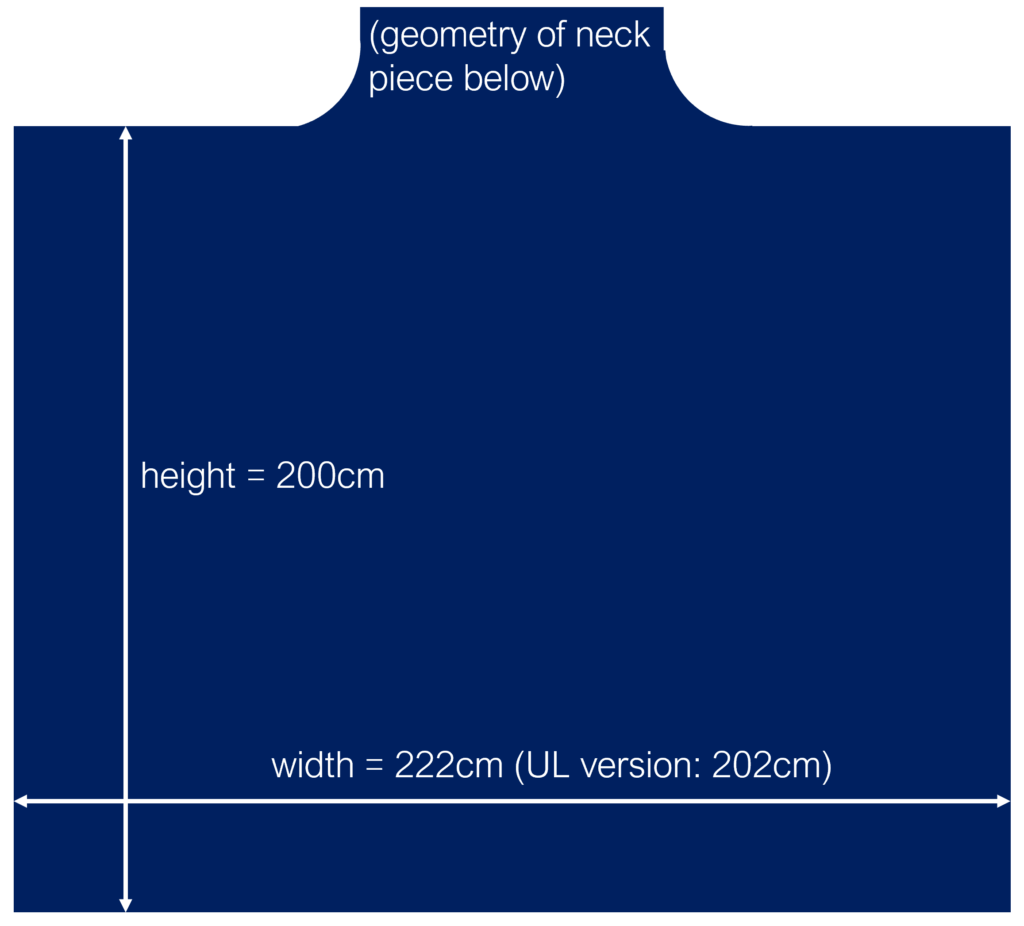
Geometry
Materials
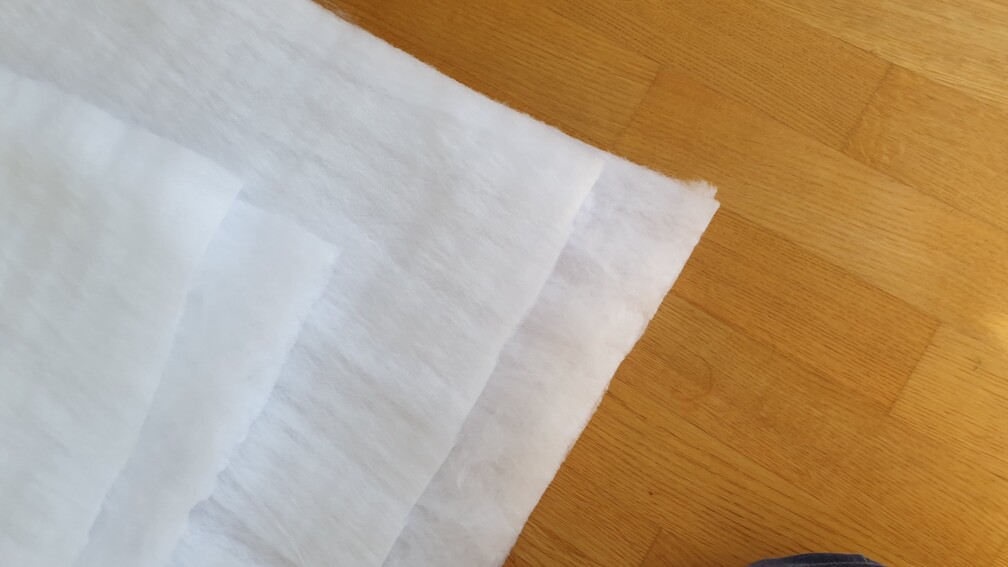
To determine the ideal insulation value, we looked at various forums (e.g., here in German) and compared fabrics and temperature ratings of synthetic 1-person quilts. For us, Apex 167 and 200 works well for a range -5℃ to 10℃. Apex 100 and 133 works for a range of +5℃ to 20℃.
We bought all necessary materials at Extremtextil, which is a great supplier for outdoor materials located in Germany.
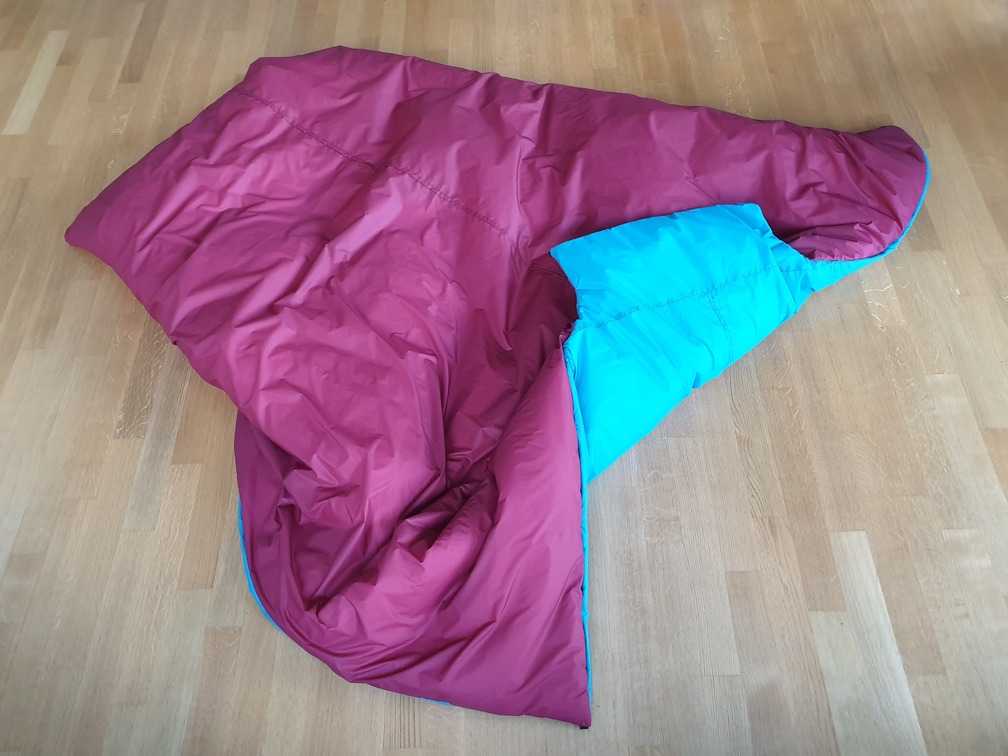
Warm Version
- Outer fabric: 400cm Nylon 20D (width 140cm; 34g/m2) red
- Inner fabric: 400cm Nylon 20D (width 140cm; 34g/m2) turquoise
- Insulation left: 200cm Climashield Apex 200 (width 150cm; 200g/m2)
- Insulation right: 200cm Climashield Apex 167 (width 150cm; 167g/m2)
- Matching yarn for both fabrics (red, gray)
- Optional: 20cm black webbing (~12mm width) and 4 press buttons
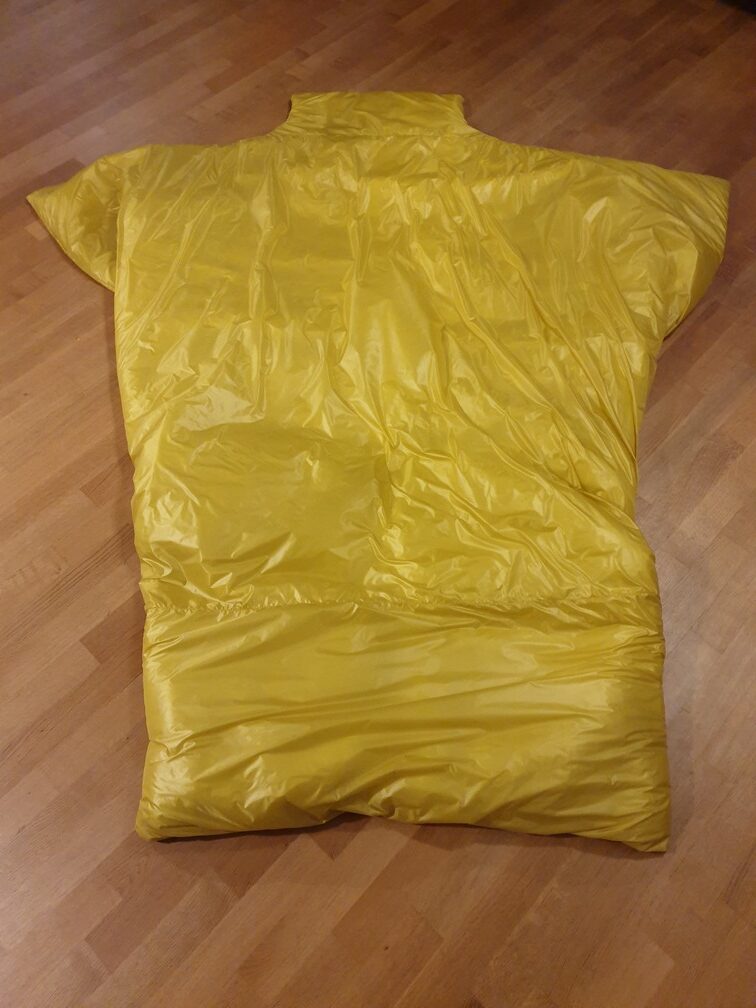
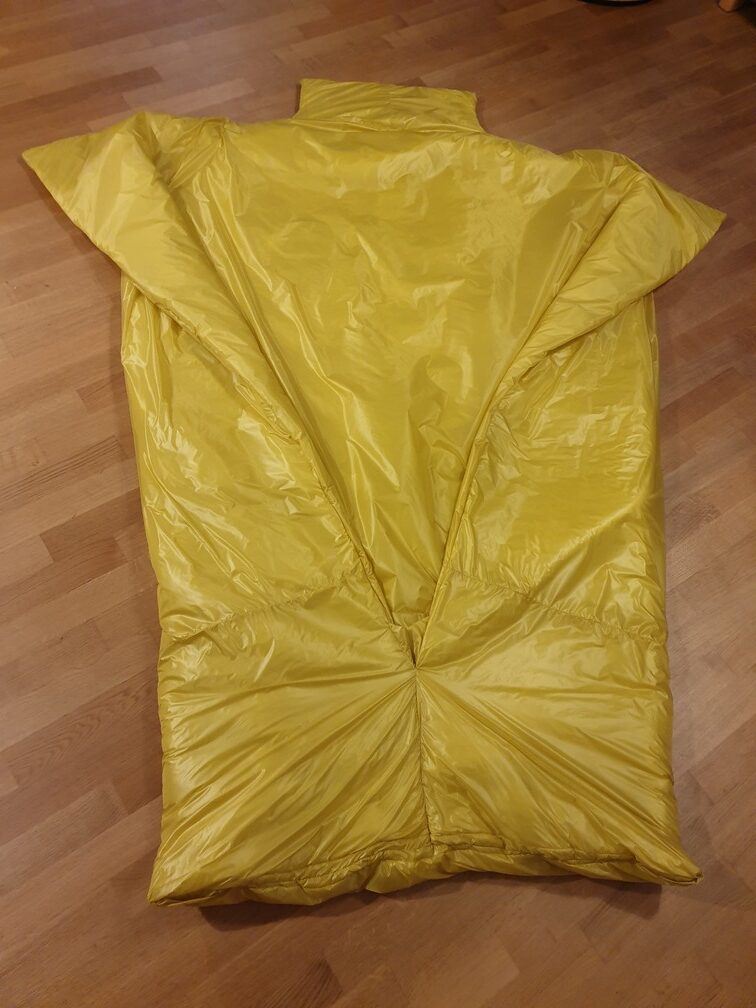
Ultralight Version
- Fabric: 800cm Nylon 10D (width 140cm; 27g/m2) yellow;
- Insulation left: 200cm Climashield Apex 133 (width 150cm; 133g/m2)
- Insulation right: 200cm Climashield Apex 100 (width 150cm; 100g/m2)
Necessary Tools
For this project, only a sewing machine with a normal foot, lots of pins, good fabric scissors, a tape measure, and some chalk to mark the fabrics are necessary, so nothing unusual.
Step-by-Step Instructions
Step 1: Preparation of Fabrics
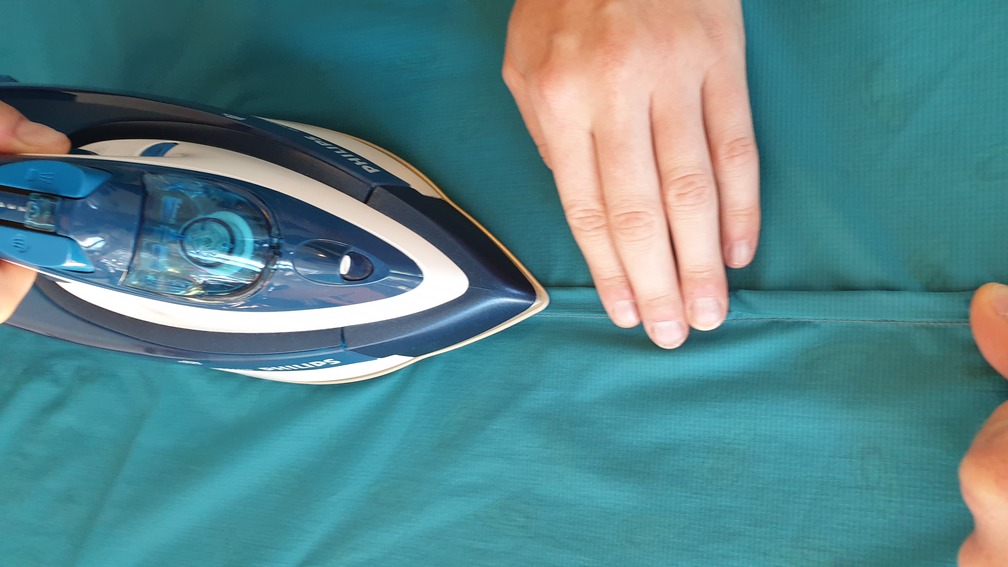
Nylon Fabrics
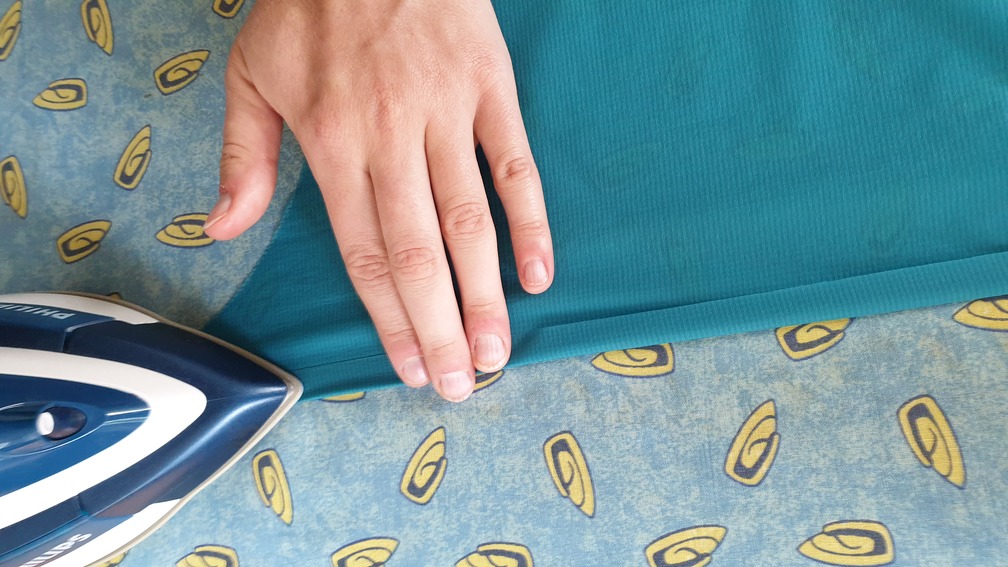
1. We ironed both nylon fabrics to remove wrinkles from transport. (Extremtextil offers shipment on the roll, which reduces the issue of wrinkles.)

2. Taking the 400cm pieces in half, we cut each nylon fabric into two 200cm pieces.
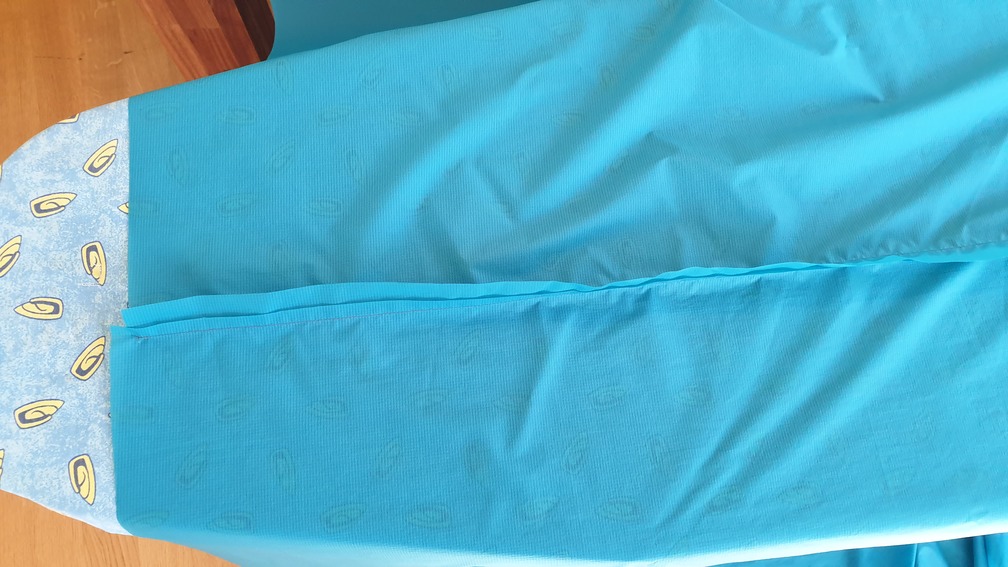
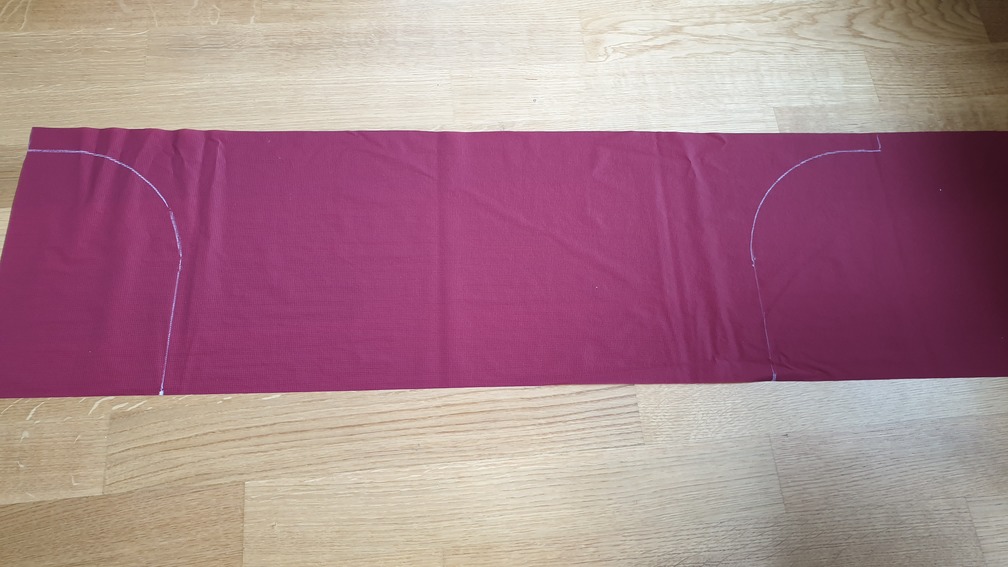
3. For both fabrics, we connected the two pieces to a large piece of 280x200cm, using a flat-felled seam. We decided to use the side with only one visible stitch line as the right side (finally on the outside of the quilt) and the one with two stitch lines as the left side (facing the Apex inside).

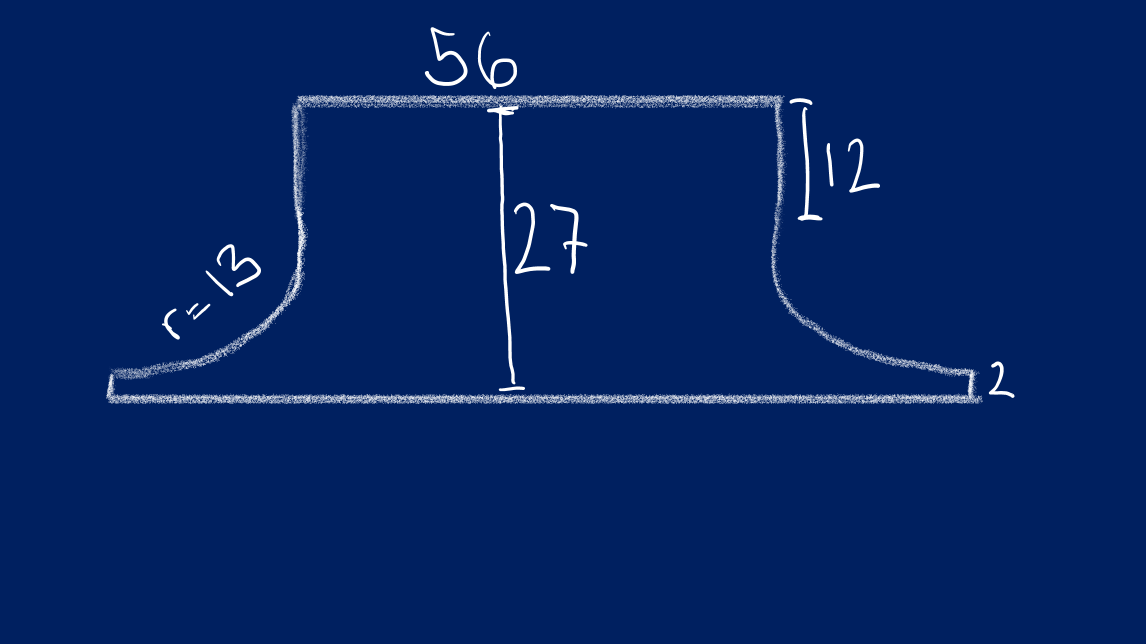
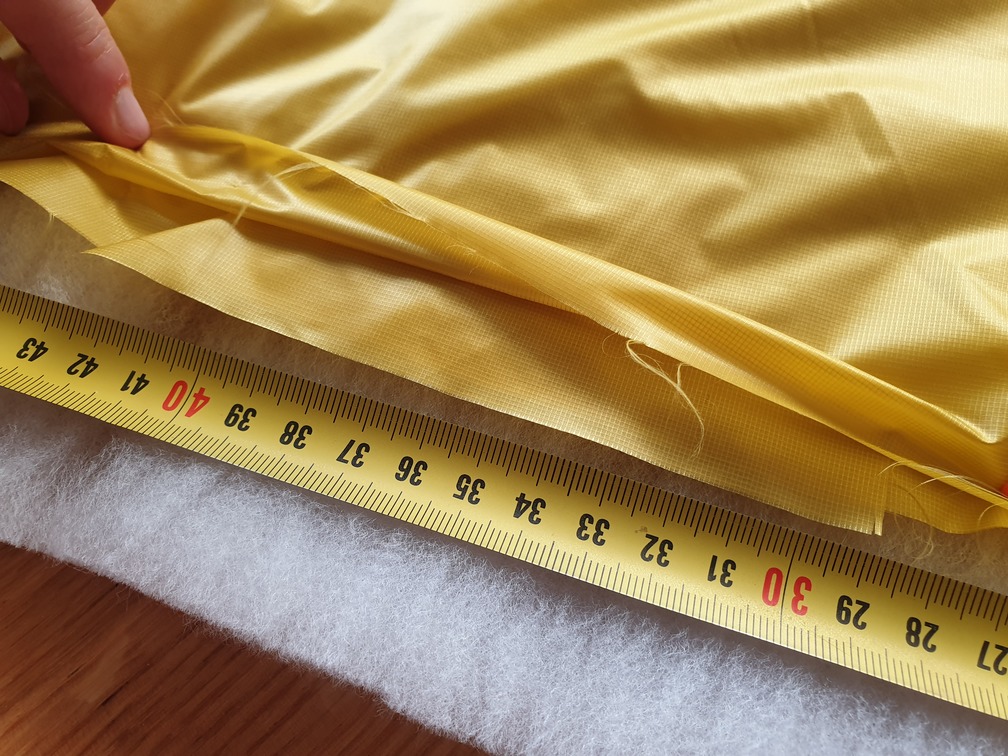
4. Measuring a width of 222cm (ultralight version: 202cm) (111cm on either side from the middle), we cut both large fabric pieces to their final size.
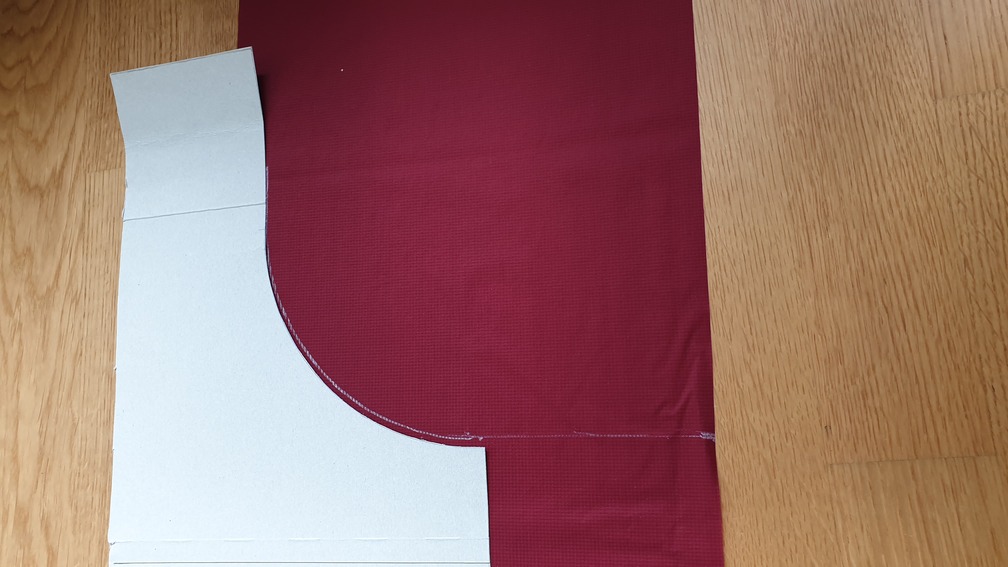
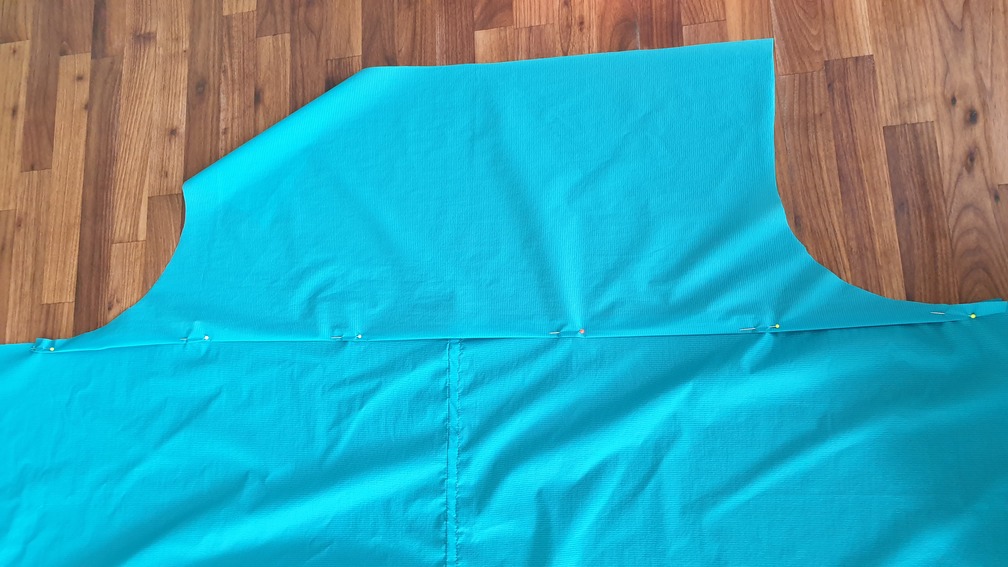
5. Now, only the neck pieces were missing, for which we used the fabric strips we just cut off (width approx. 27cm). Out of cardboard, we made a template to get the quarter circle right (radius = 13cm) and used it to chalk out the neck piece.
6. Using a mock flat-fell seam, we attached the neck pieces to the large rectangular fabrics with one stitch line.
Apex
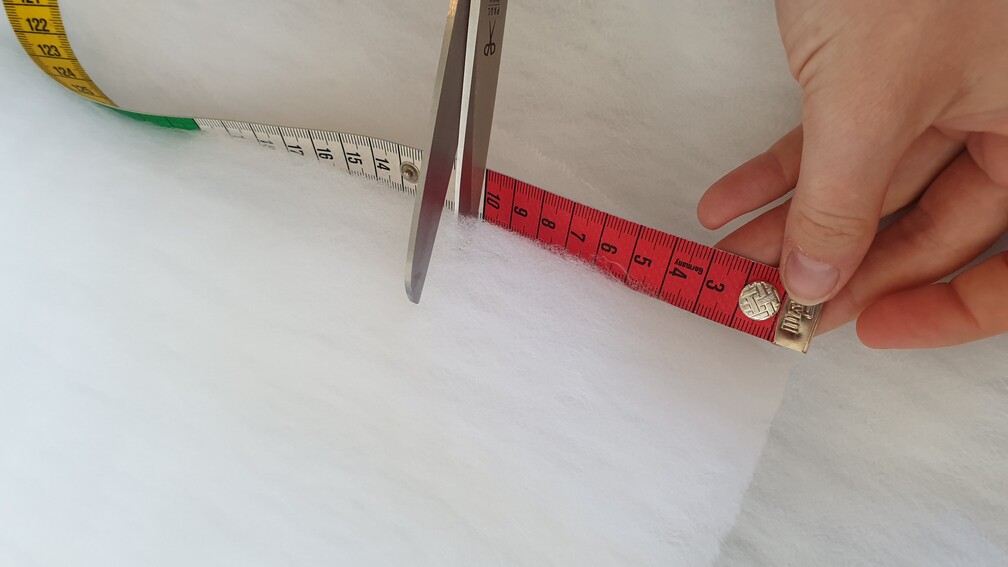
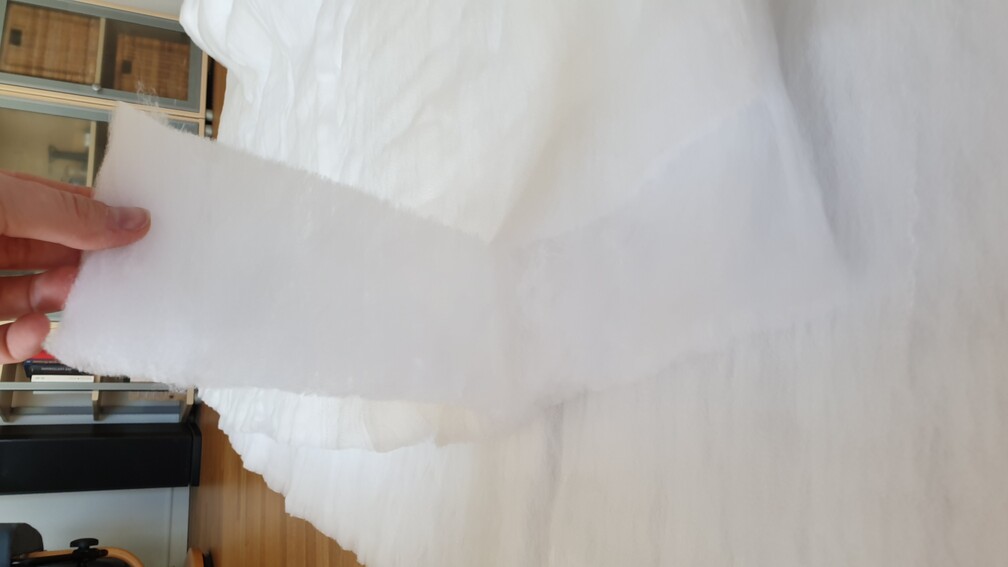
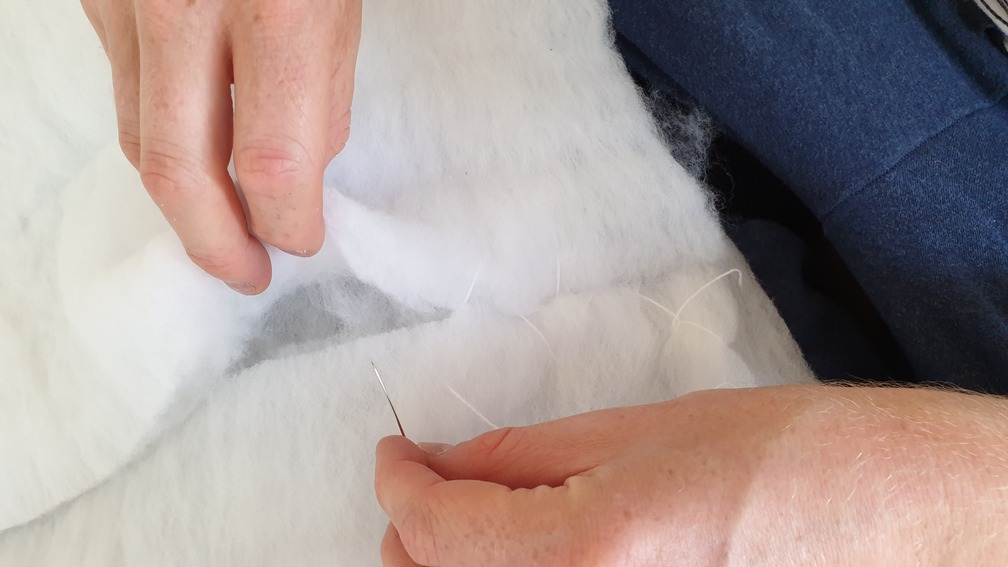
We combined the two Apex sheets to one large sheet of 300x200cm by first creating overlapping edges of 10cm and then manually baseball-stitching the sheets together on both sides. This method seemed to have worked very well, as it connects the two sheets tightly while preserving the insulation properties due to the overlap.
Note: If you use different Apex types for the two sides, make sure you know which sheet is which thickness before connecting them. We found that is isn’t easy to tell them apart by eye and weighed and marked them before processing.
Cutting “Tension Triangle”
We copied this idea from our Enlightened Equipment quilt, which has a small square piece of nylon fabric in the color of the outer layer that is folded to a triangle and attached to the top end of the foot-box seam to catch the tension created on the seams be opening the top part of the blanket.
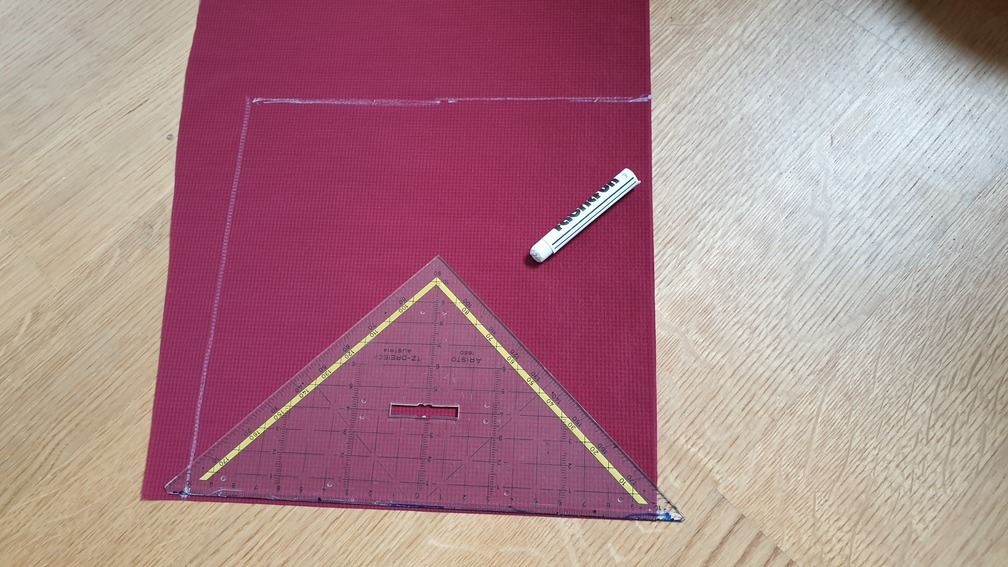
From a scrap piece of outer nylon fabric, we cut a square with a side length of 14cm and folded it to a triangle along the diagonal.
Combining Fabrics to Sandwich
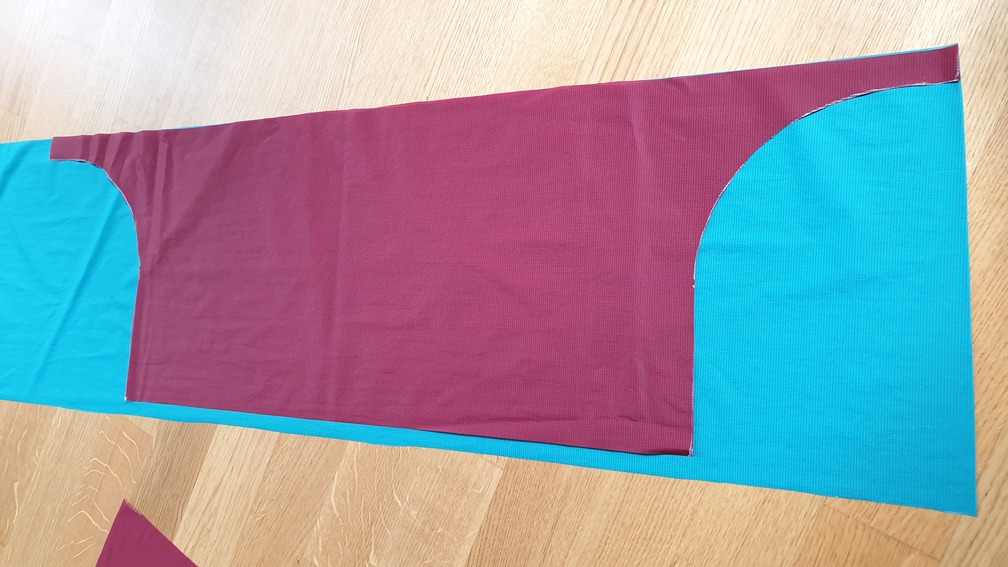
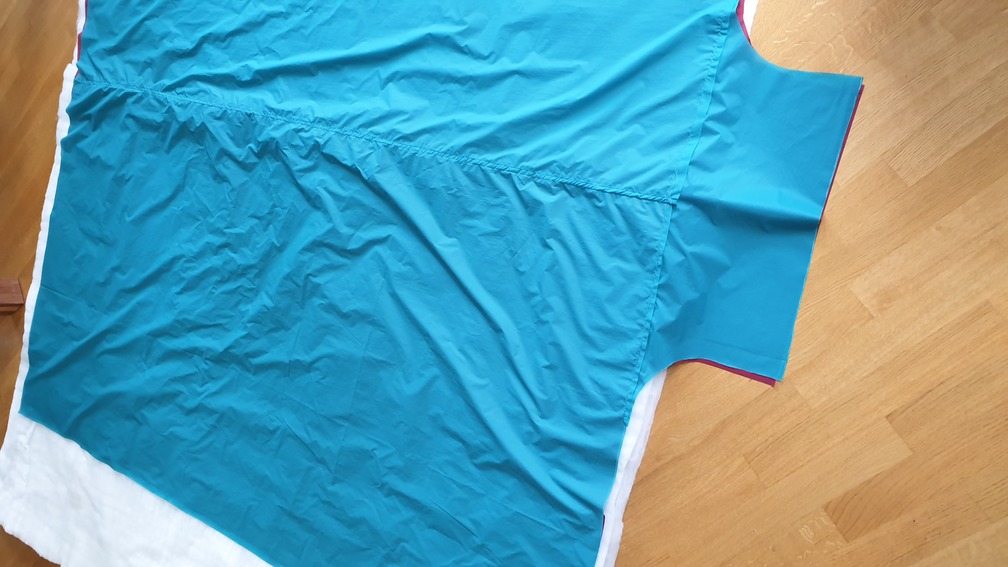
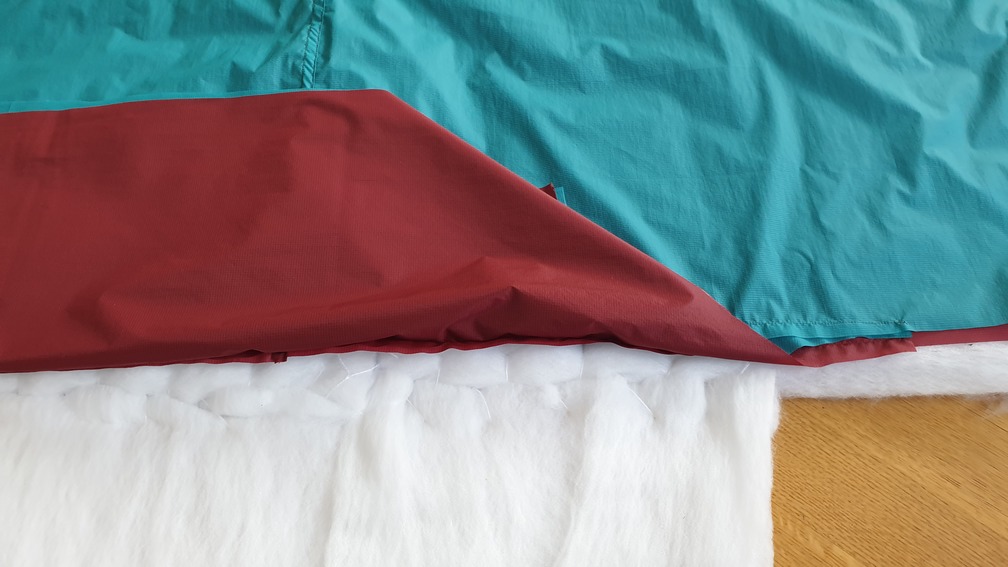
Now that all layers were the right size, we combined them to a “sandwich”, where it was very important to have the correct orientations of the outer fabrics:
1. The Apex went on the very bottom and on that the outer nylon fabric (red) with the right side up (such that the left side faces the Apex).
Note: If different Apex thicknesses are used for the two sides, this is the moment where you need to decide which side goes where. We turned to neck piece of the outer (red) layer such that the warmer side was on the left (from the perspective when lying under the quilt).
2. The inner nylon fabric (blue) came on top with the left side up (the right side facing the other nylon layer). Later, when the sandwich is turned inside out, both nylon layers will have the right side out.
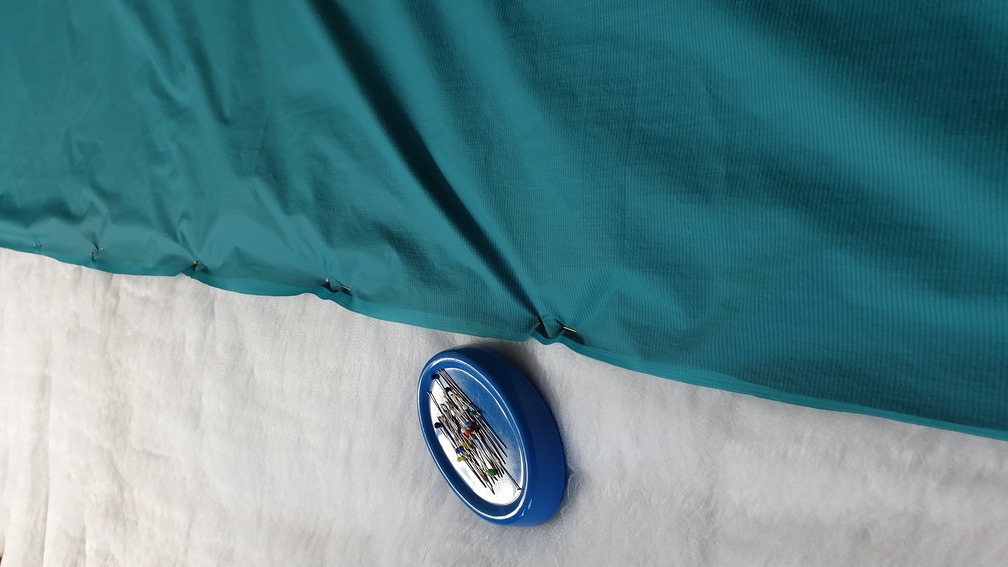
3. We fixed both side and bottom edges using pins, making sure that the pins went all the way through the Apex layer (this proved important for sewing later).
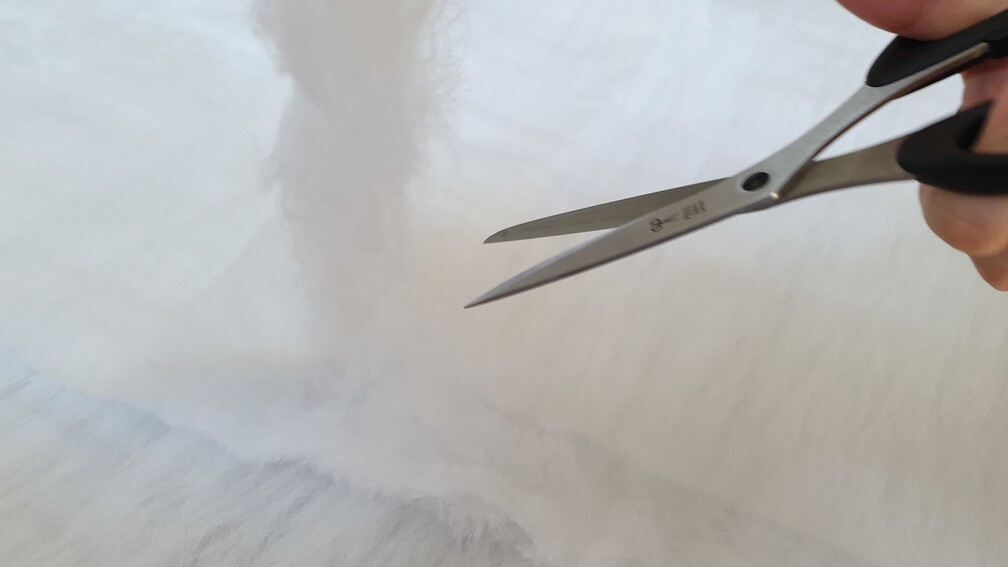
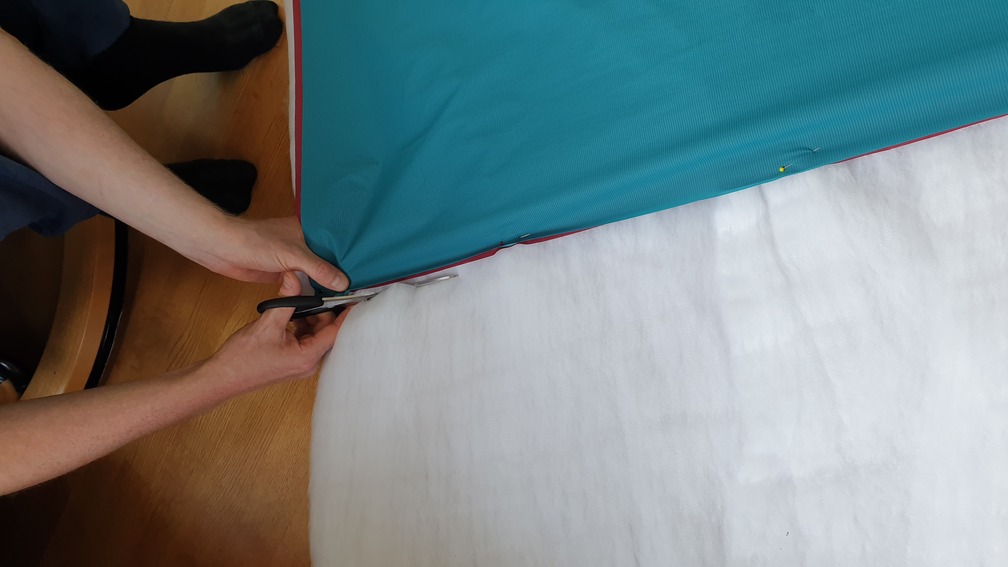
4. The insulation layer was still much too wide, so we cut the Apex using the nylon layers as template.
5. As the Apex layer of the neck piece was still missing, we took a strip of the Apex 167 we just cut off the side, cut it approximately to the correct width for the neck piece and sewed it to the blanket piece. Again, we used baseball stitches, but this time sticking the needle all the way through both layers. Of course, one could also use the overlapping method again.

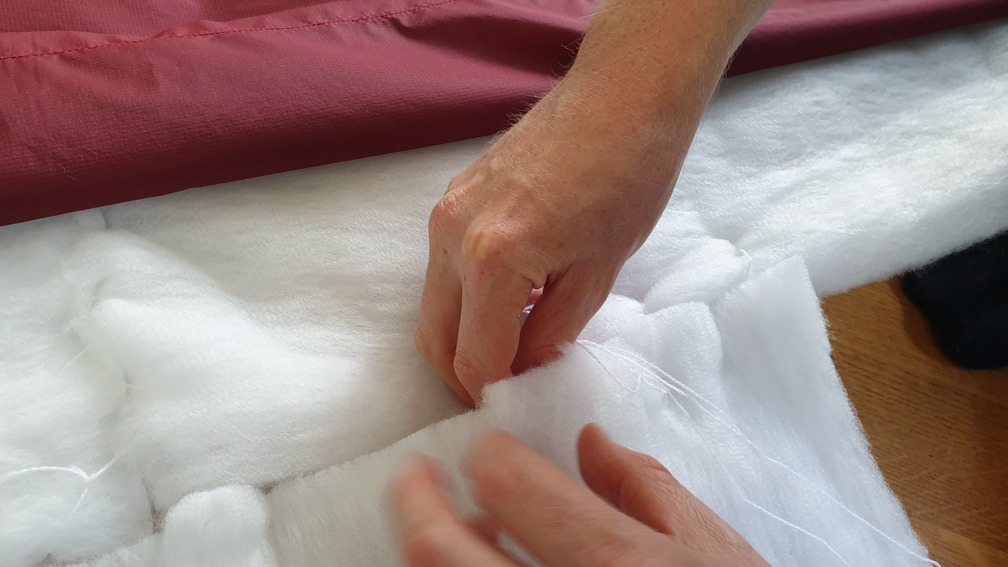
6. Finally, we trimmed the Apex around the neck piece and also pinned the top edge.

Step 2: Sewing the Layers to a Blanket
(Optional) press buttons
If you want to have press buttons on the top edge to close the blanket around you neck during cold nights, now would be time…
- Prepare 4x5cm pieces of black webbing.
- Fold the straps in half. They now have an open and a closed end; the closed end will later be visible.
- On the two corners of the top edge and the two corners of the neck piece, all aligned parallel to the top edge: Stick the straps between the nylon layers with the closed edge facing into the sandwich, about 5mm deep.
- Cut away the Apex where the open ends of the straps are about one square centimeter. Otherwise, the corners will be too thick to get the buttons in later (do you know how we found this out?!)
- Fix each strap with a pin.
Include Tension Triangle
Ideally, the tension triangle is already sewn to one side of the quilt at this step. It must be placed the triangle between the two nylon fabrics facing inward. Alternatively, the triangle can be added later (as we did in our first attempt).

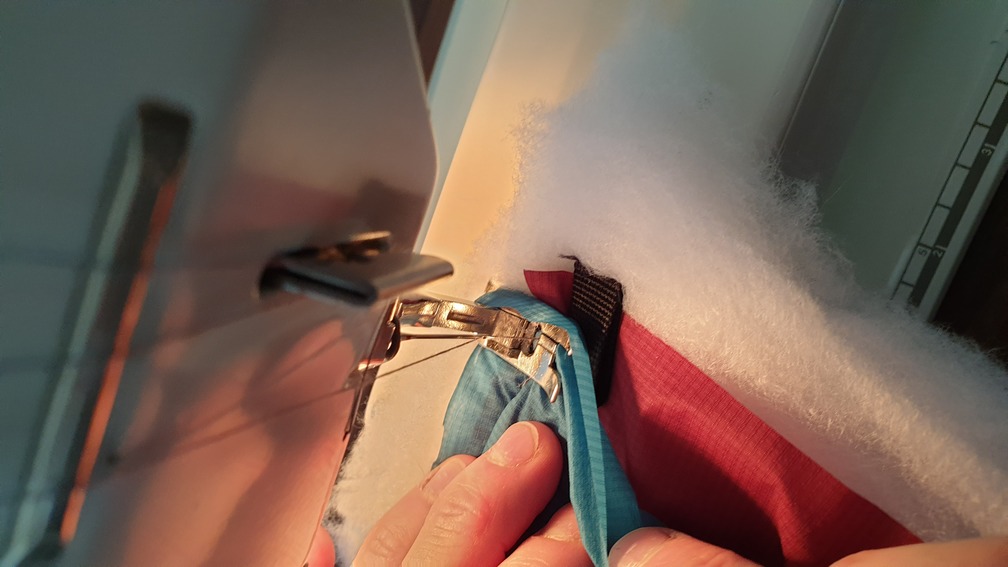
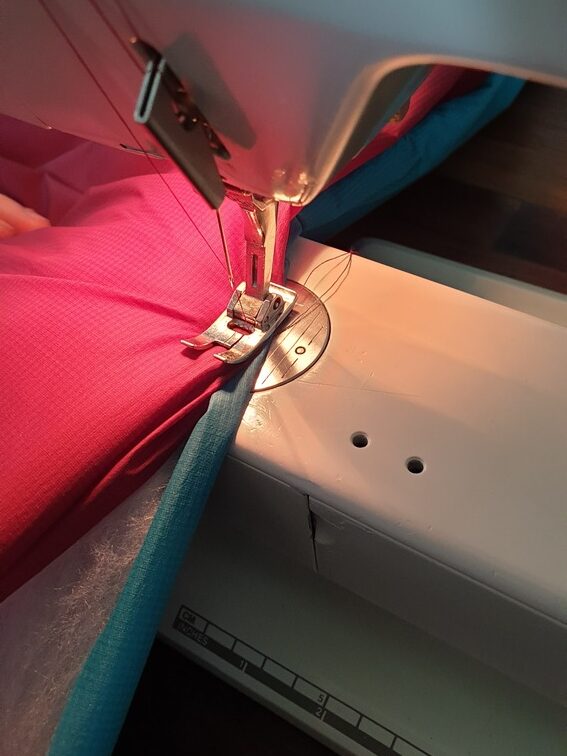
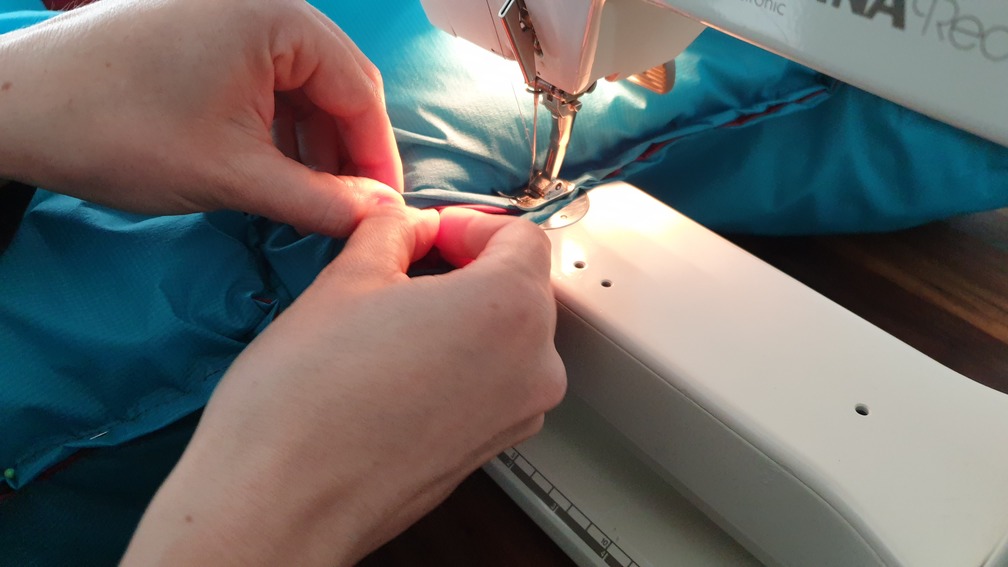
Sewing the Sandwich Together
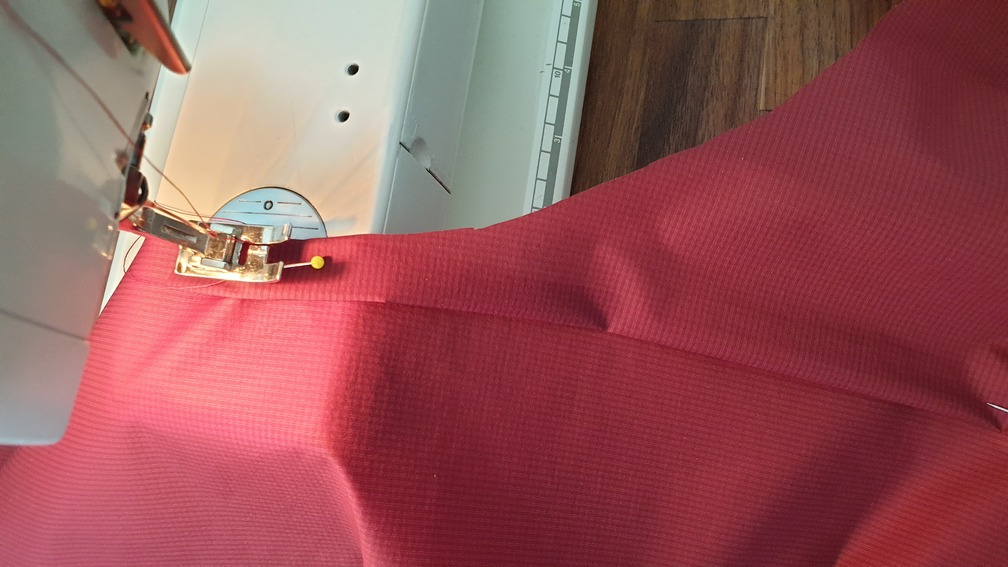
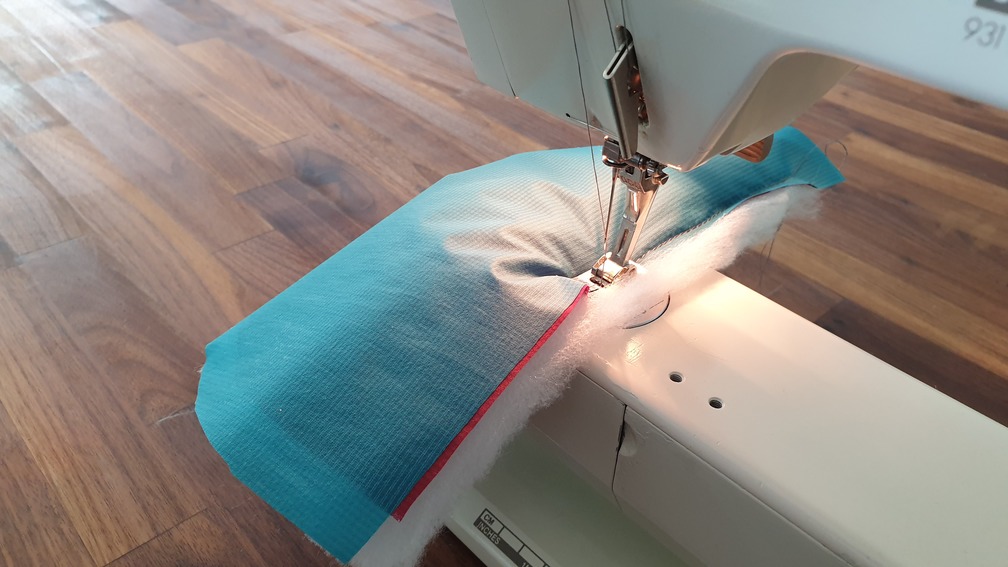
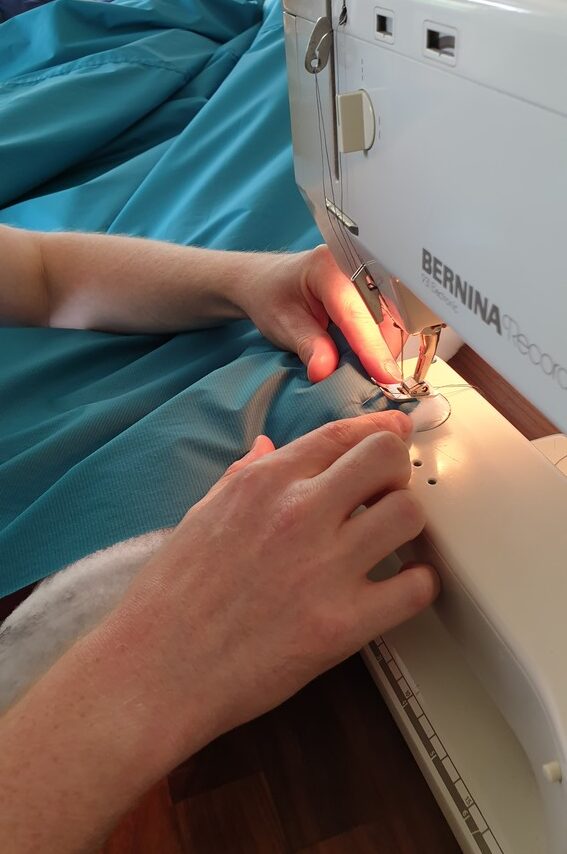
From other tutorials where people made their own quilt, we learned that it is useful to sew the sandwich with the nylon layers up, because otherwise the fuzzy Apex will get stuck in the machine all the time.
So, the next step was to sew the sandwich together to form a blanket. We therefore sewed around the edges, leaving approx. 50cm open on the bottom edge to turn the materials inside out later.
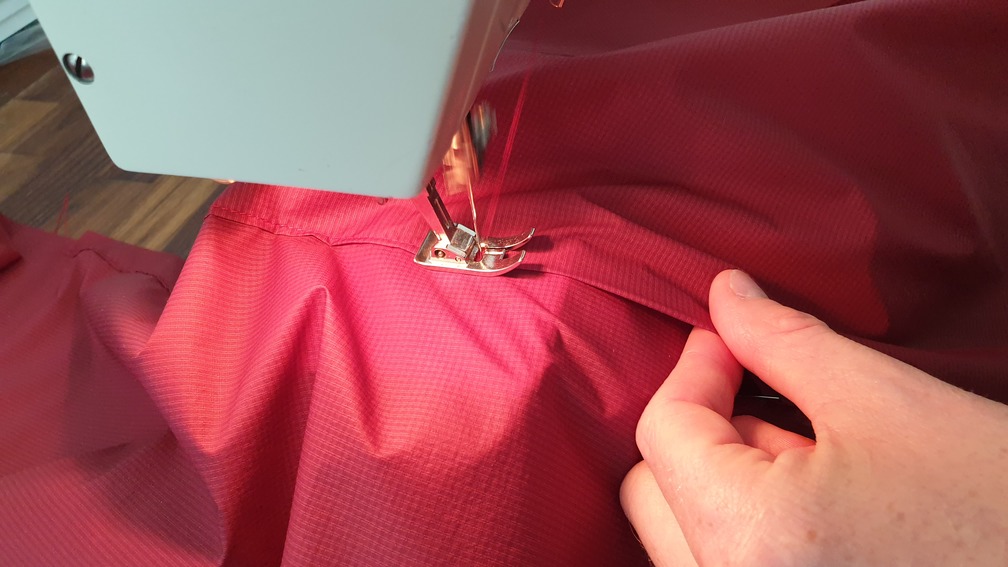
We found that sewing the Apex material is a bit more tricky that normal fabrics, but still possible even for us novices. Here are a few tips we figured out along the way:
- Make a test piece from scrap fabrics and practice with this.
- Go slowly and make sure all three layers are moved through the machine at a similar speed, otherwise something will bunch. Each time we went a bit faster, the stitches became very short and the fabrics did not move through the machine properly.
- As the Apex always seems to move in some direction, leave enough space to the edge (about 5mm next to foot). This can still be trimmed later.
- Regularly make sure that all layers are flat and do not form double layers.
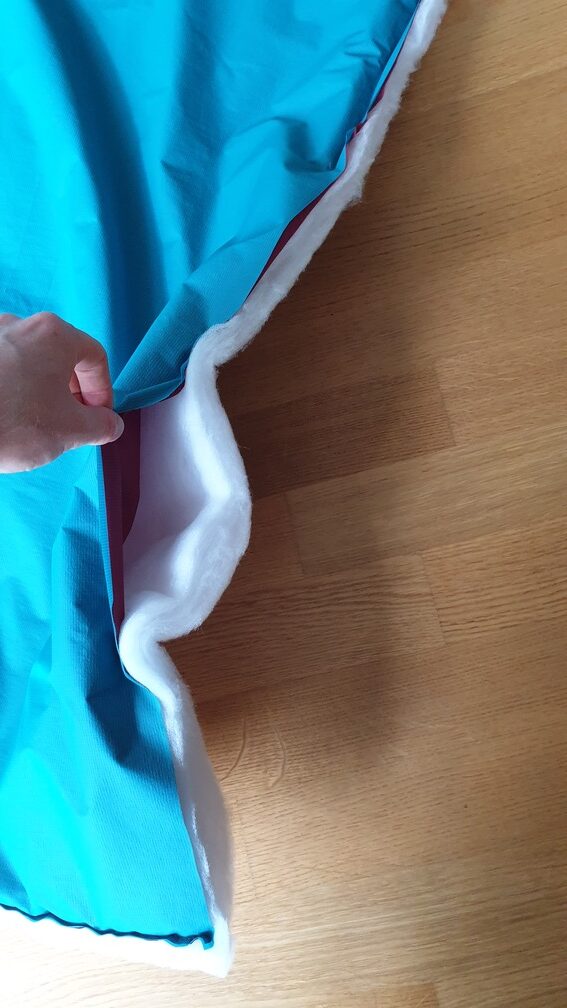
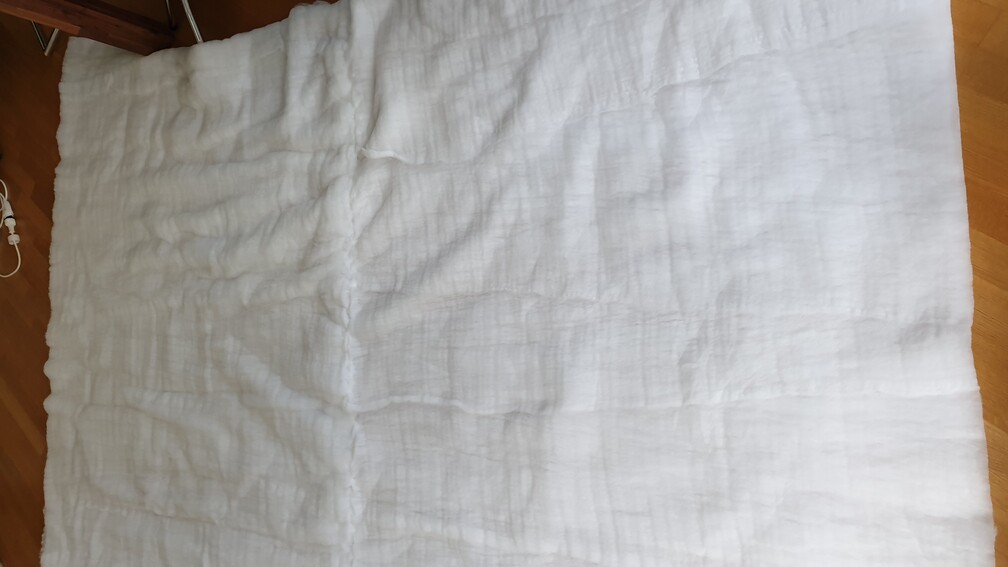
And now, the moment of truth: We turned the sandwich inside out by reaching between the two nylon fabrics and pulling everything to the other side. Luckily, everything had worked well (enough) and the blanket looked great.
Closing the Bottom Edge
All that was missing now to have a nice blanket was to close the last 50cm on the bottom edge. Perhaps a bit inexpertly, we just wrapped each layer of nylon fabric around half a layer of Apex and made a stitch line. That way the Apex was connected to the nylon layers.
Step 3: Forming the Foot Box
Apparently, we had saved the most difficult part for last, because now we really got to exercise our fine motor skills.
Our general idea to form the foot box was to sew the lower part of the sides together, having the inner side (blue) out, in the process attaching a small square that reduces the tension to the seams, and finally sewing the bottom edges together. When turning the foot box inside out at the end, the seams were no longer visible from the outside.
Finalizing the Tension Triangle
1. (This step is not necessary if you already sewed the triangle in step 2.) Measuring 28cm from the bottom edge, we pinned and sewed one short side of the triangle to one side edge of the blanket, between two folded layers of nylon without Apex (this is tricky!). Here it is important to make sure that the diagonal (long closed side of the triangle) later faces towards the top of the blanket, where the neck piece is.
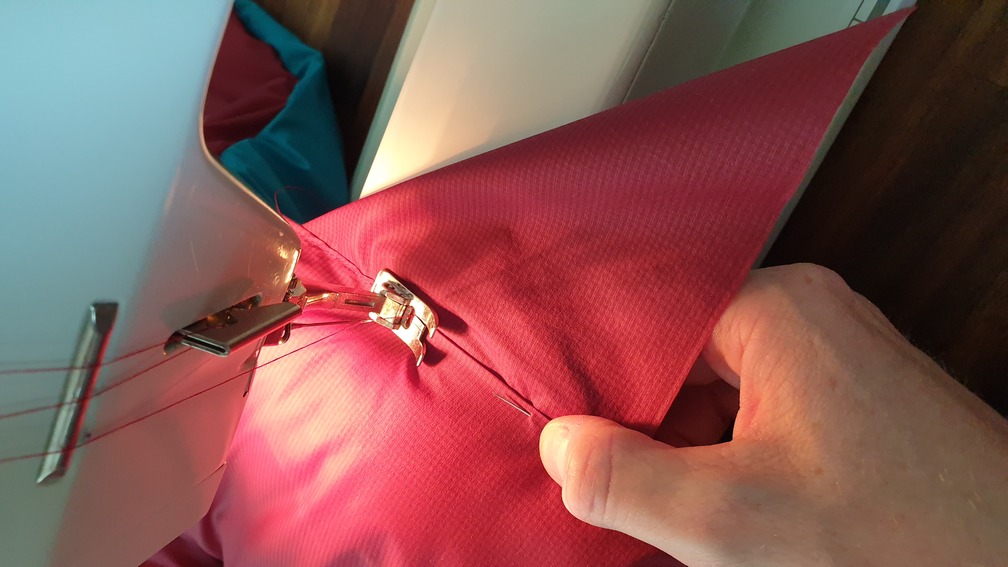
2. Attaching the other open side of the triangle to the other edge of the quilt was probably the most difficult part of the project. Again, we measured 28cm from the bottom as the start of the triangle and stuck it between the folded nylon fabrics. This time we had to sew the blue side inner nylon fabric) up, making it very tricky to have the red side look as nice as the first time. In the end, it did not look very professional, but good enough for its purpose.
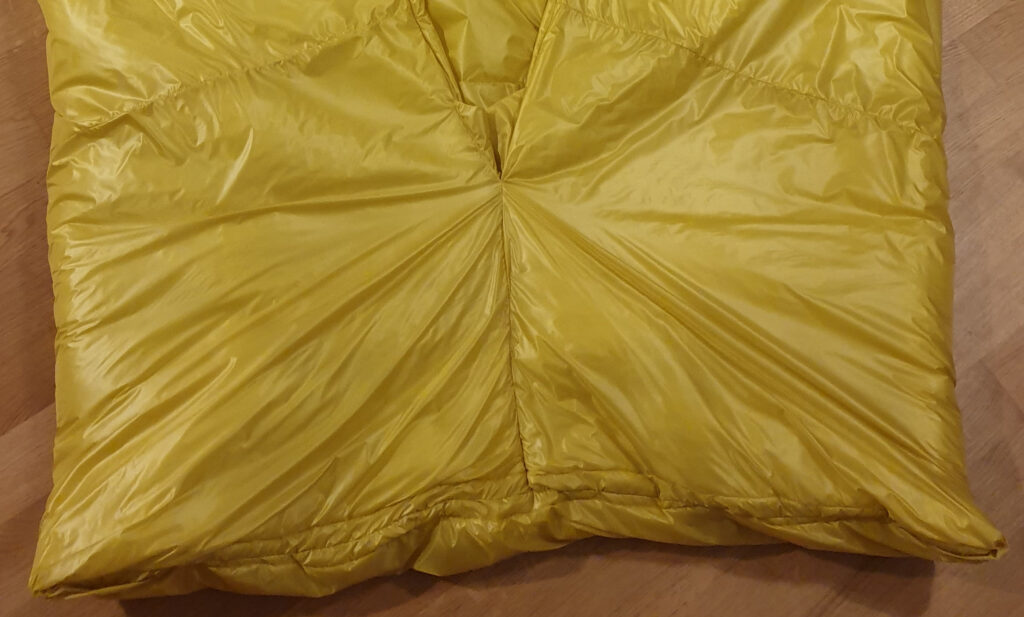
Sewing Together the Blanket to Form a Foot Box
At this stage, the sides of the blanket were already connected by the tension triangle.
1. Next, we made a stitch line from the bottom edge up to the tension triangle, connecting the lower part of the sides. For this, we pinned together folds of the nylon fabrics (4 layers: each fabric of either blanket side) trying not to have any Apex material inside the folds. Again, it was a bit difficult to really have all four layers while not making the folds more too wide (we aimed for a width of the folds of about 1cm).
2. Finally, we made the last stitch line to sew the bottom seam of the foot box. Using the same approach as in the previous step, we pinned together all four layers without Apex on the bottom edge of the blanket. Here, it is important to place the seam of the previous step exactly in the middle of the quilt.
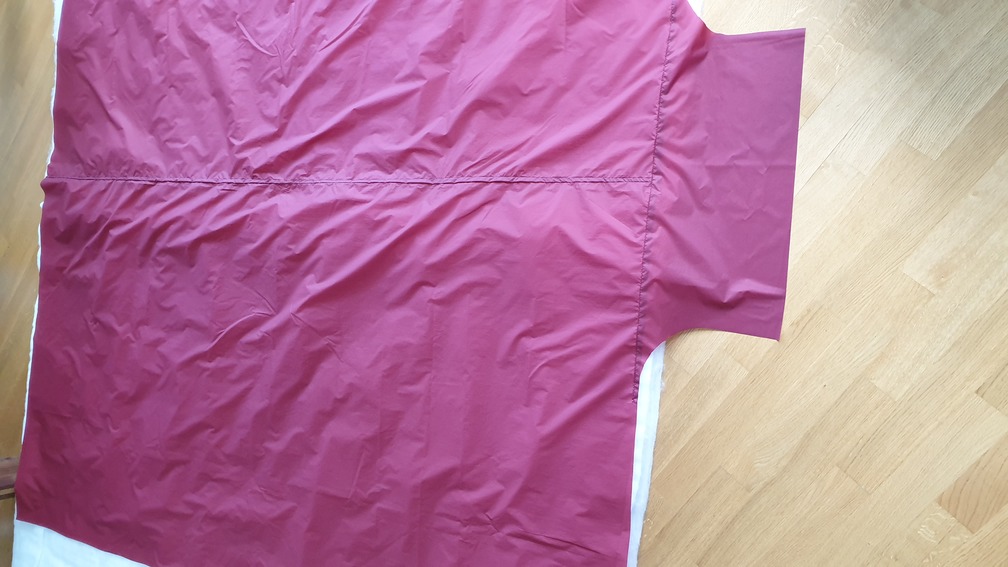
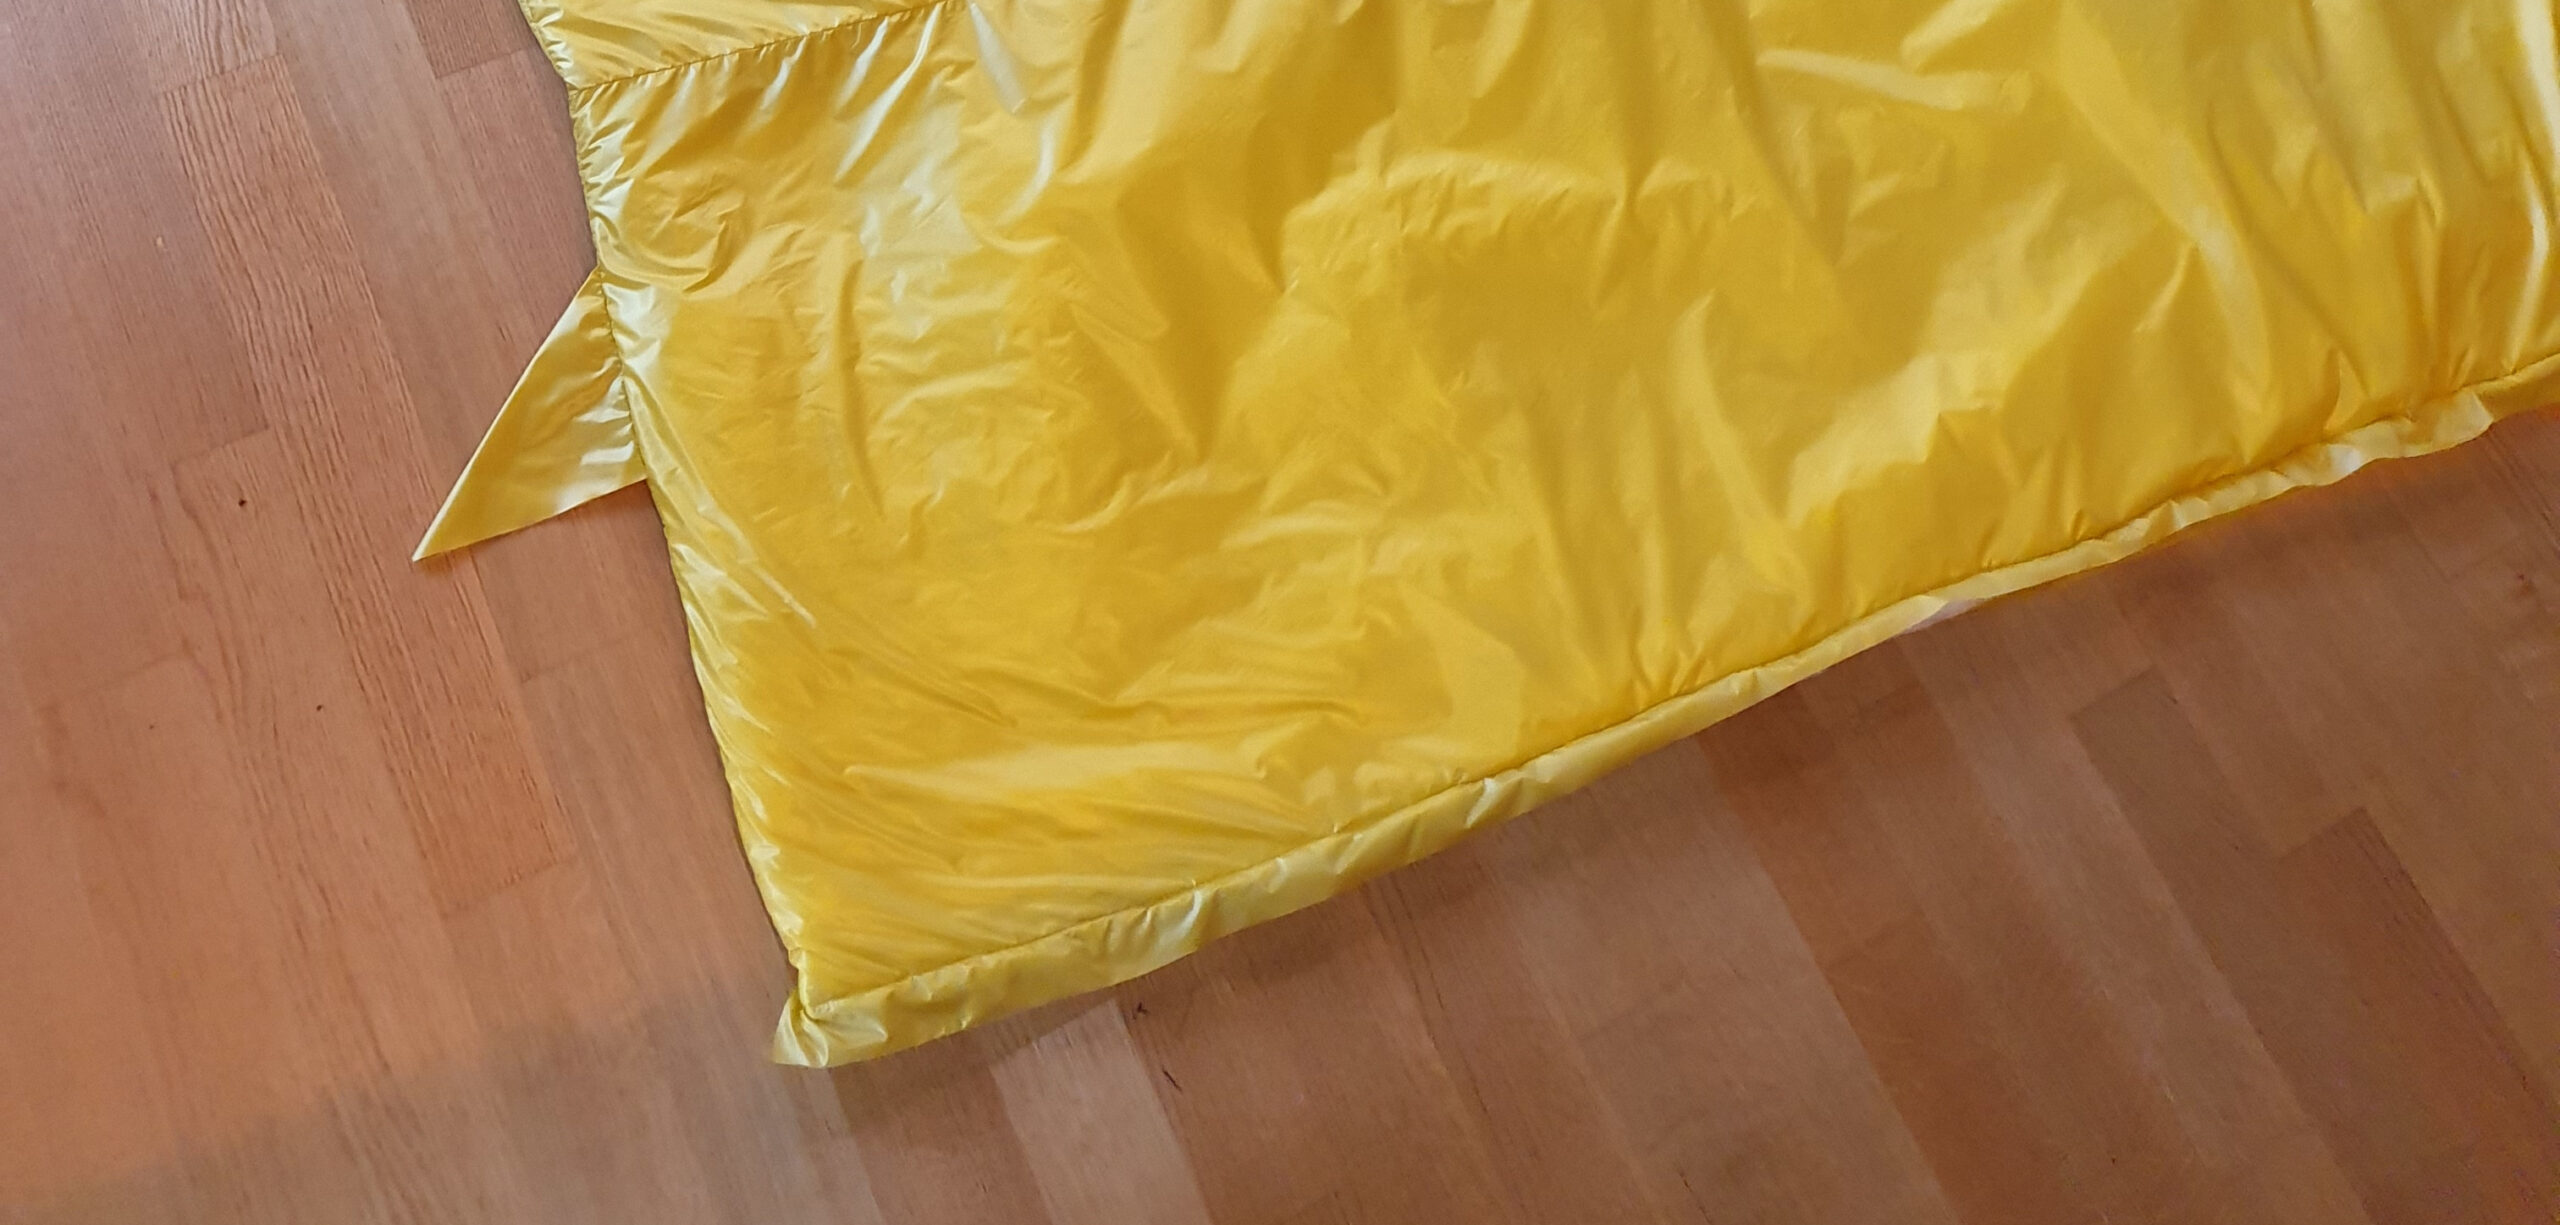
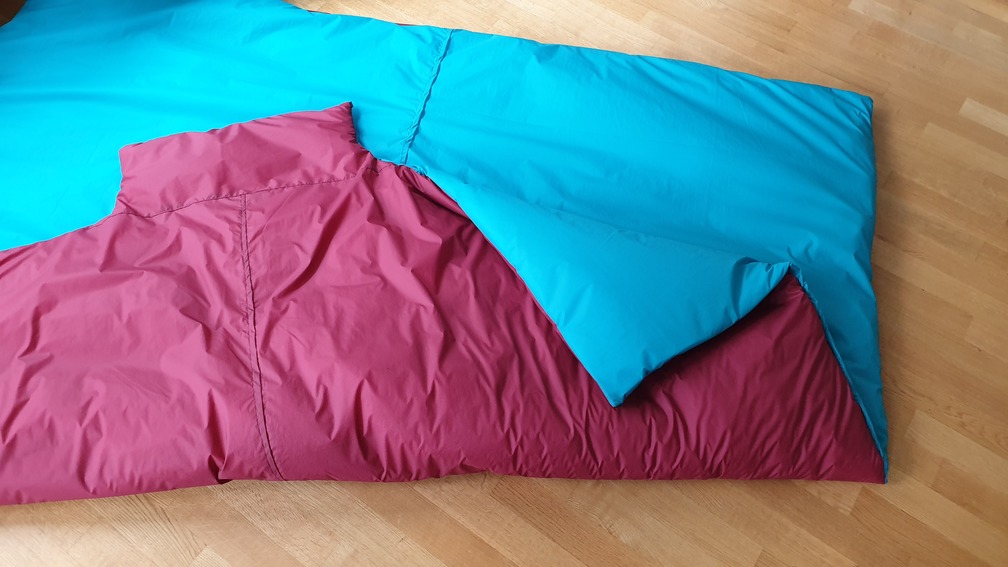
3. Now, the quilt can be turned inside out, resulting in the outer fabric facing out. Finished!
Conclusion
After having used both our quilts several times, partially in very cold and wet conditions, we are really happy with our result. The warm version is only slightly heavier than our down quilt and works for the same temperatures. And a 700g two-person quilt that works down to 5℃ is really amazing!